Ever tried to display product comparisons, feature lists, or any kind of structured data in your Blogger post and hit a wall? You look through the post editor toolbar for a simple "Insert Table" button, but it's nowhere to be found. It's a frustratingly common problem for Blogger users.
Without tables, your data can look messy and be difficult for your readers to understand. But don't worry—there is a simple and powerful solution. You can add beautiful, custom tables to any Blogger post by using a little bit of HTML.
And the best part? You don't need to know how to write the code yourself. In this guide, I'll show you how to use a free tool to generate the code and paste it directly into your post.

Key Takeaways
- Blogger's default "Compose" editor does not have a button to create tables.
- The solution is to switch to the "HTML view" and paste in the HTML code for a table.
- The easiest and best way to get this code is by using a free HTML Table Generator.
- The process is simple: Generate your table visually, Copy the code, and Paste it into Blogger's HTML view.
Why You Need Tables in Your Blog Posts
Before we get to the "how," let's quickly cover the "why." Tables are incredibly powerful tools for a content creator. You can use them to:
- Compare Products: Show features side-by-side.
- Display Data: Present statistics or research findings clearly.
- Show Specifications: List technical details for a product review.
- Create Pricing Tiers: Outline different subscription plans.
- Organize Content: Structure information in a scannable, easy-to-read format.
A well-formatted table can make your content look more professional and make complex information much easier to digest for your audience.
Step-by-Step Guide to Inserting a Table in Blogger
Ready to become a table master? Let's go through the process step-by-step.
Step 1: Understand Blogger's "HTML View"
The secret to adding a table lies within the Blogger post editor. By default, you are in the "Compose view," which is a "what you see is what you get" editor. To add our table, we need to access the code behind the post.
In the top-left of the editor, you'll see a pencil icon or a button with
< >. Clicking this lets you switch between
Compose view and HTML view. This is where we
will paste our table code.

Step 2: Generate Your Table Code with a Free Tool
Instead of fumbling with <table>, <tr>,
and <td> tags yourself, we're going to use a powerful
tool that does all the work for you.
Head over to the Free HTML Table Generator.
This tool gives you a visual, spreadsheet-like editor where you can:
- Add and remove rows/columns.
- Type your content directly into the cells.
- Style your table with colors, borders, and fonts.
- Even merge cells for complex headers!
Create the table exactly how you want it to appear in your blog post.

Step 3: Copy the Generated HTML & CSS
Once your table looks perfect, click the green "Generate HTML & CSS" button in the tool. You'll see the complete code appear in the output box.
Now, simply click the "Copy Code" button. The entire code block is now copied to your clipboard, ready for Blogger.

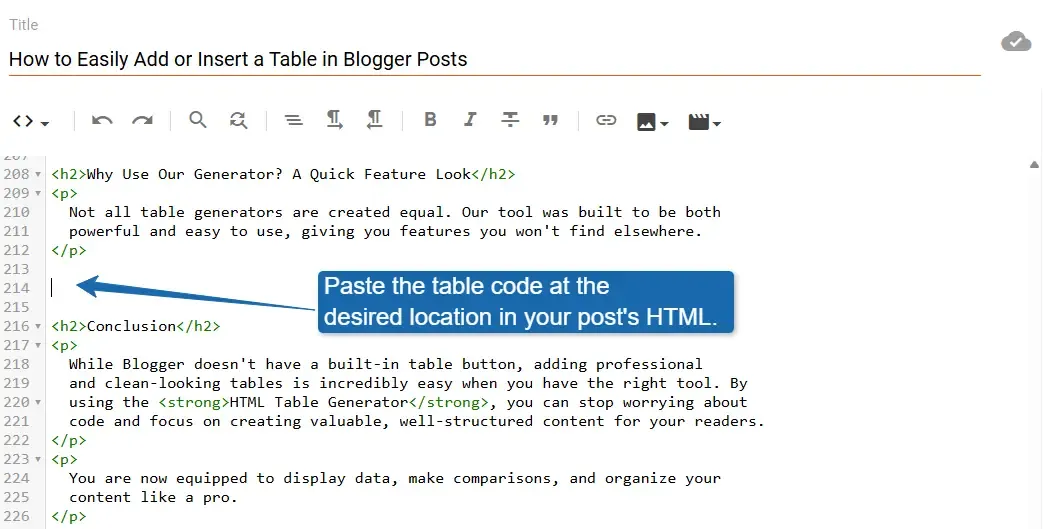
Step 4: Paste the Code into Your Blogger Post
Go back to your Blogger post editor. Make sure you have switched to the "HTML view" (from Step 1).
Decide where you want the table to appear in your post and click that spot in the code. Then, simply paste the code you copied (Ctrl+V on Windows, Cmd+V on Mac). You'll see the block of HTML appear.
Step 5: Preview and Publish!
Now for the magic moment. Switch back to the "Compose view". You will see your beautifully formatted table appear right inside your post editor!
Always use the "Preview" button to see how the table looks in your live blog post before you hit "Publish." It should look exactly as you designed it.

Why Use Our Generator? A Quick Feature Look
Not all table generators are created equal. Our tool was built to be both powerful and easy to use, giving you features you won't find elsewhere.
| Feature | Benefit for Bloggers |
|---|---|
| Visual Editor | No code needed! Feels like using a spreadsheet, making it fast and intuitive. |
| Live Preview | See your style changes instantly so you get the exact look you want. |
| Merge & Split Cells | Create professional, complex tables with spanned headers for better organization. |
| Clean Code Output | Generates semantic HTML & CSS, ensuring your table looks great and loads fast. |
| Responsive Option | With a single click, make your table scrollable on mobile so it doesn't break your theme. |
| Undo / Redo | Never worry about making a mistake. You can always go back. |
Conclusion
While Blogger doesn't have a built-in table button, adding professional and clean-looking tables is incredibly easy when you have the right tool. By using the HTML Table Generator, you can stop worrying about code and focus on creating valuable, well-structured content for your readers.
You are now equipped to display data, make comparisons, and organize your content like a pro.
What kind of data will you be displaying in your new tables? Let us know in the comments below!